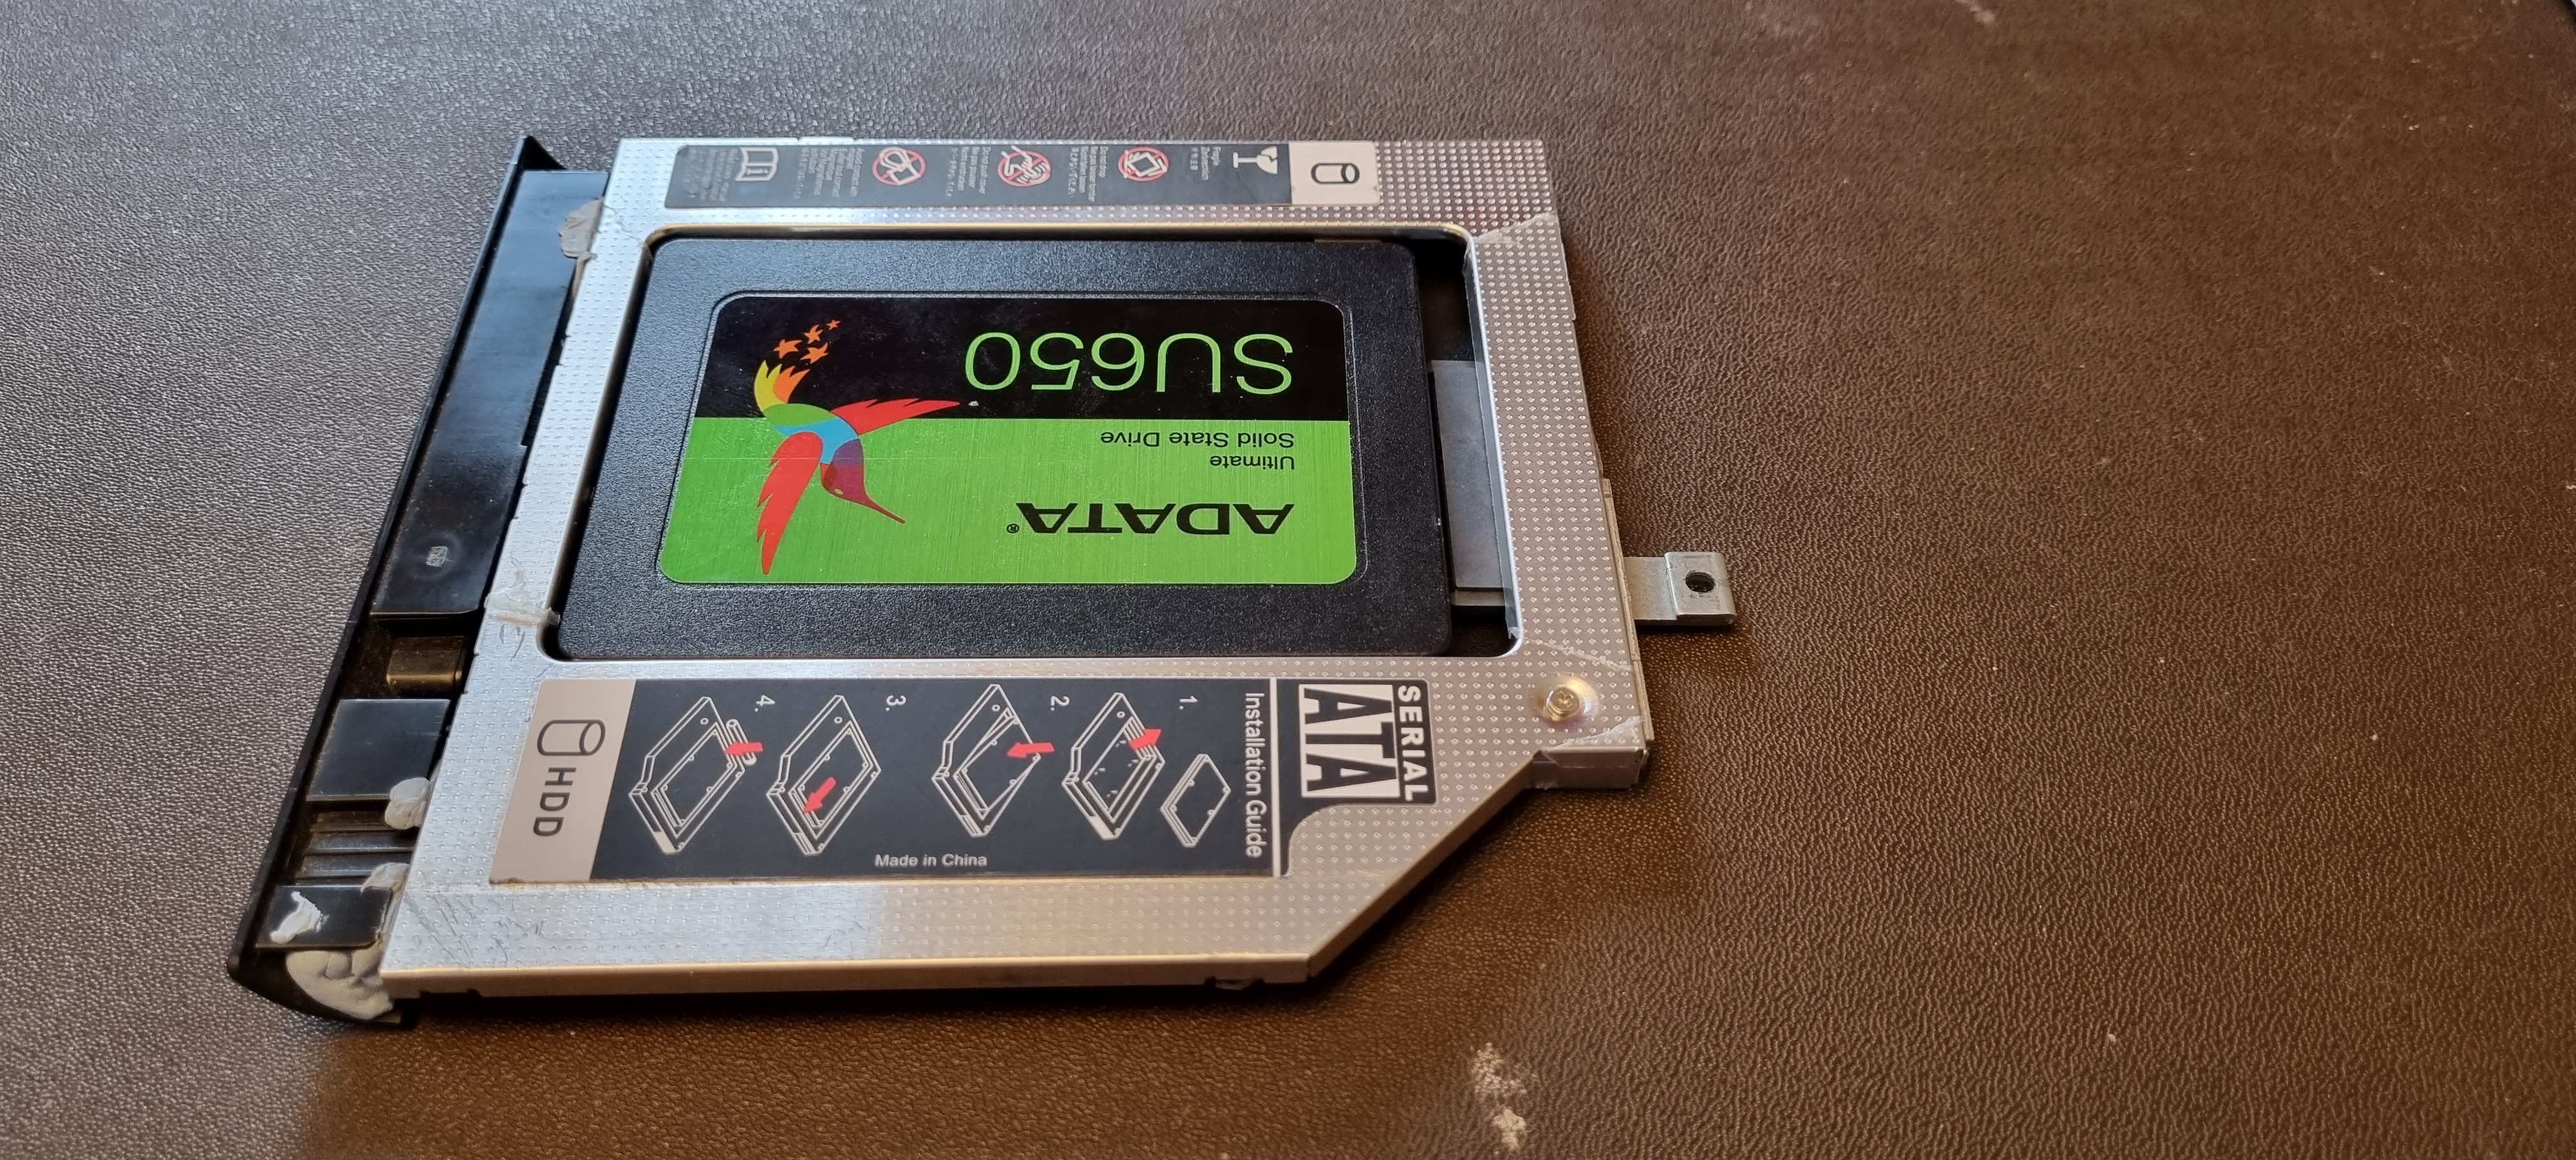
You will then see a silver harddrive holder.
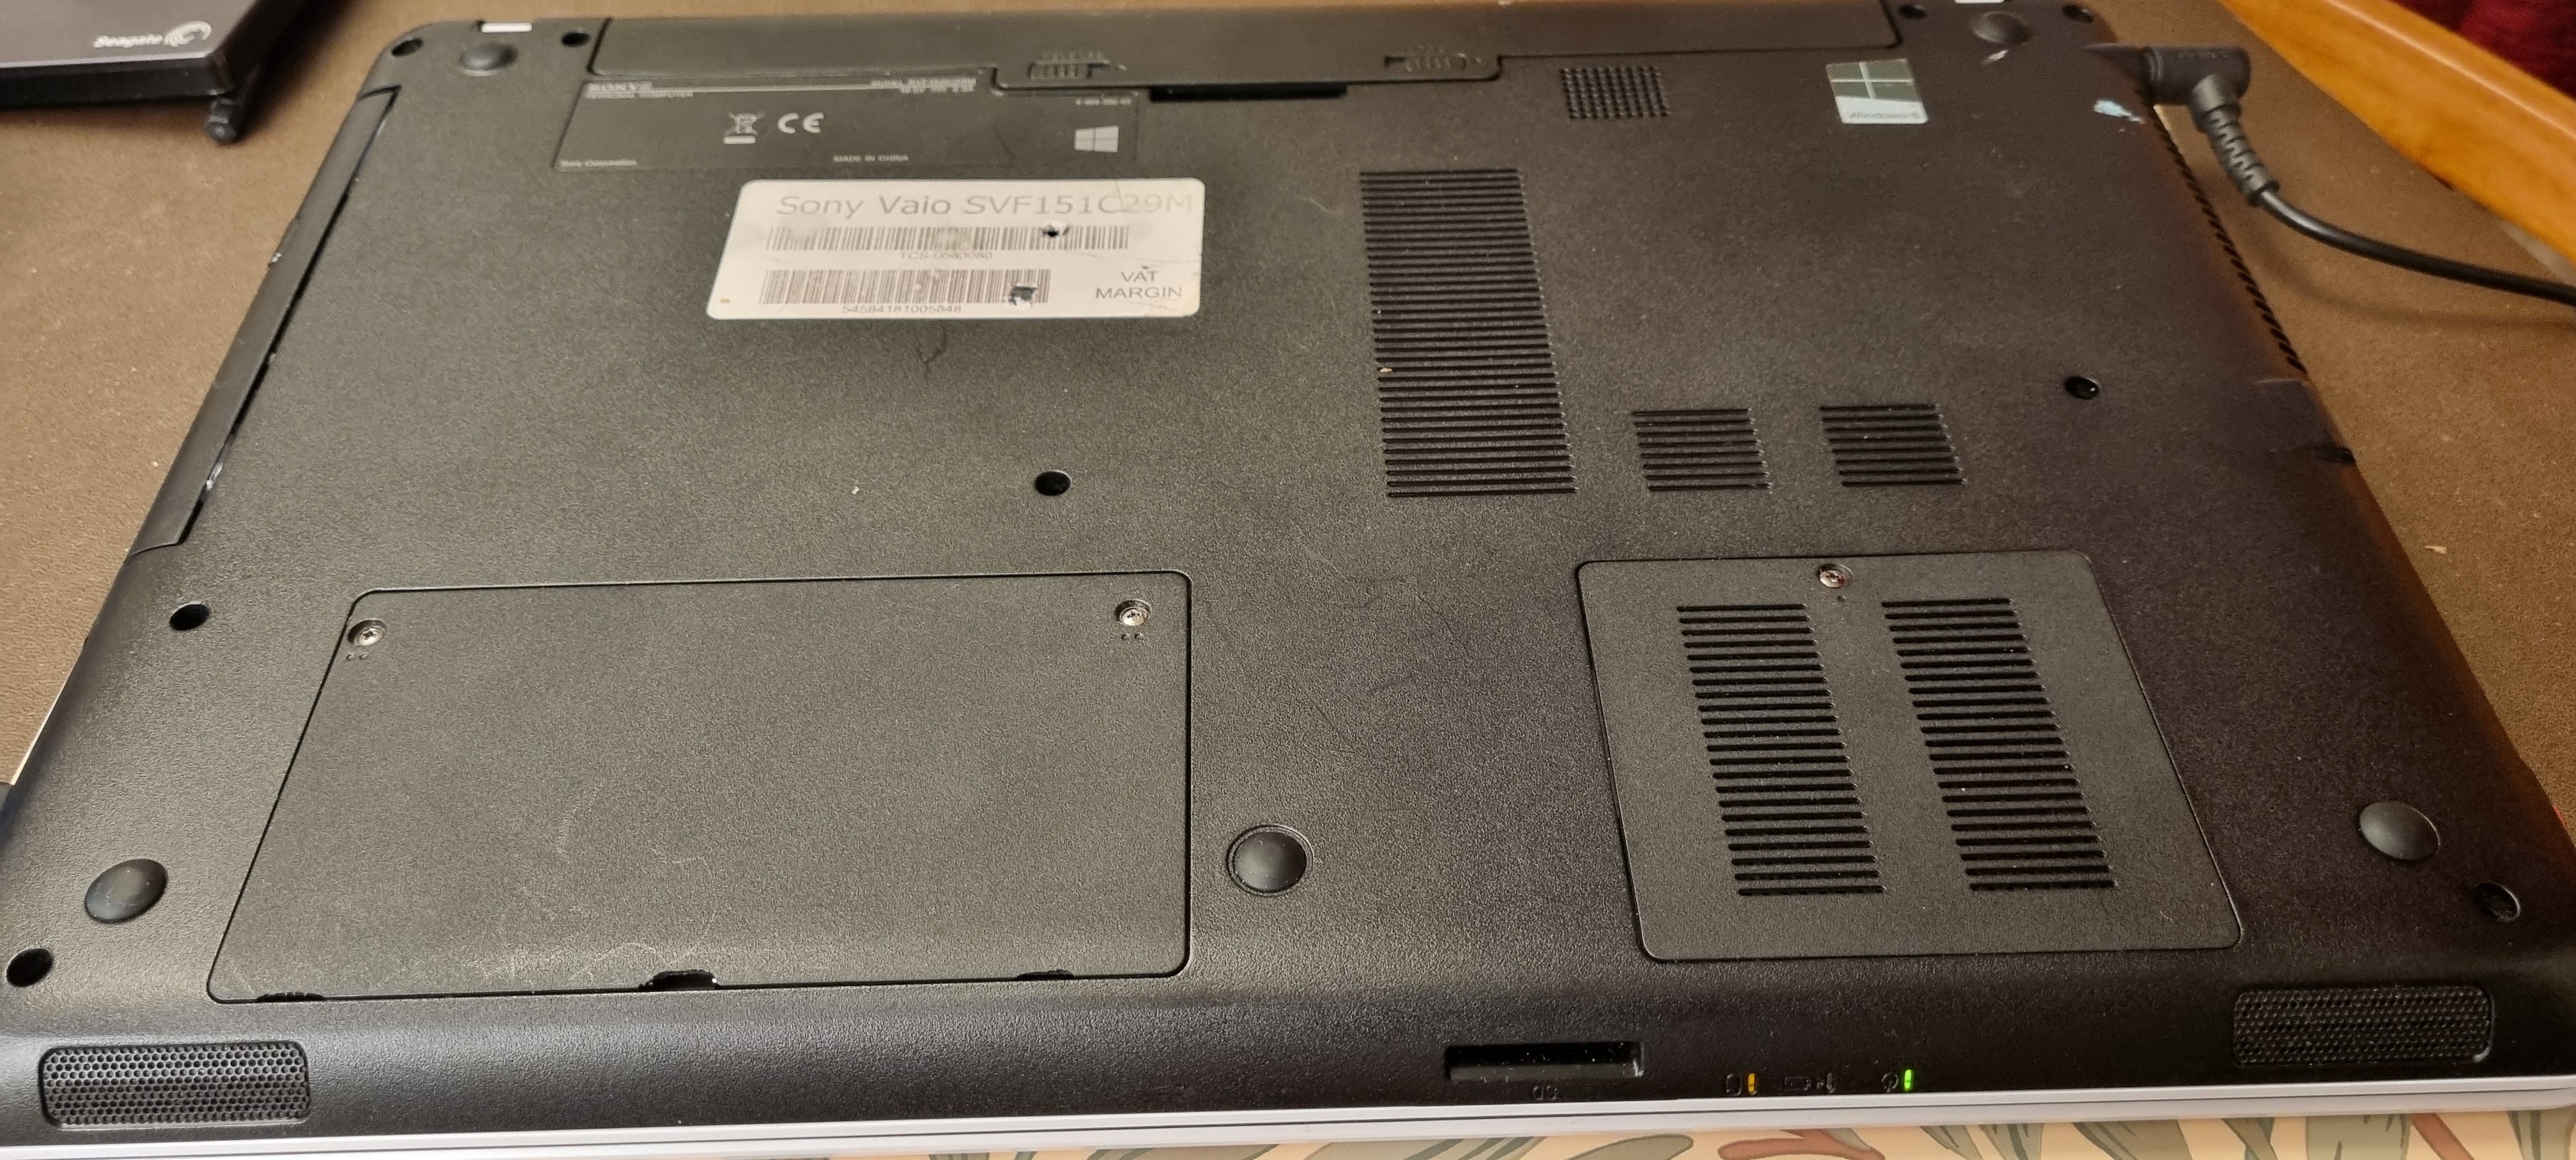
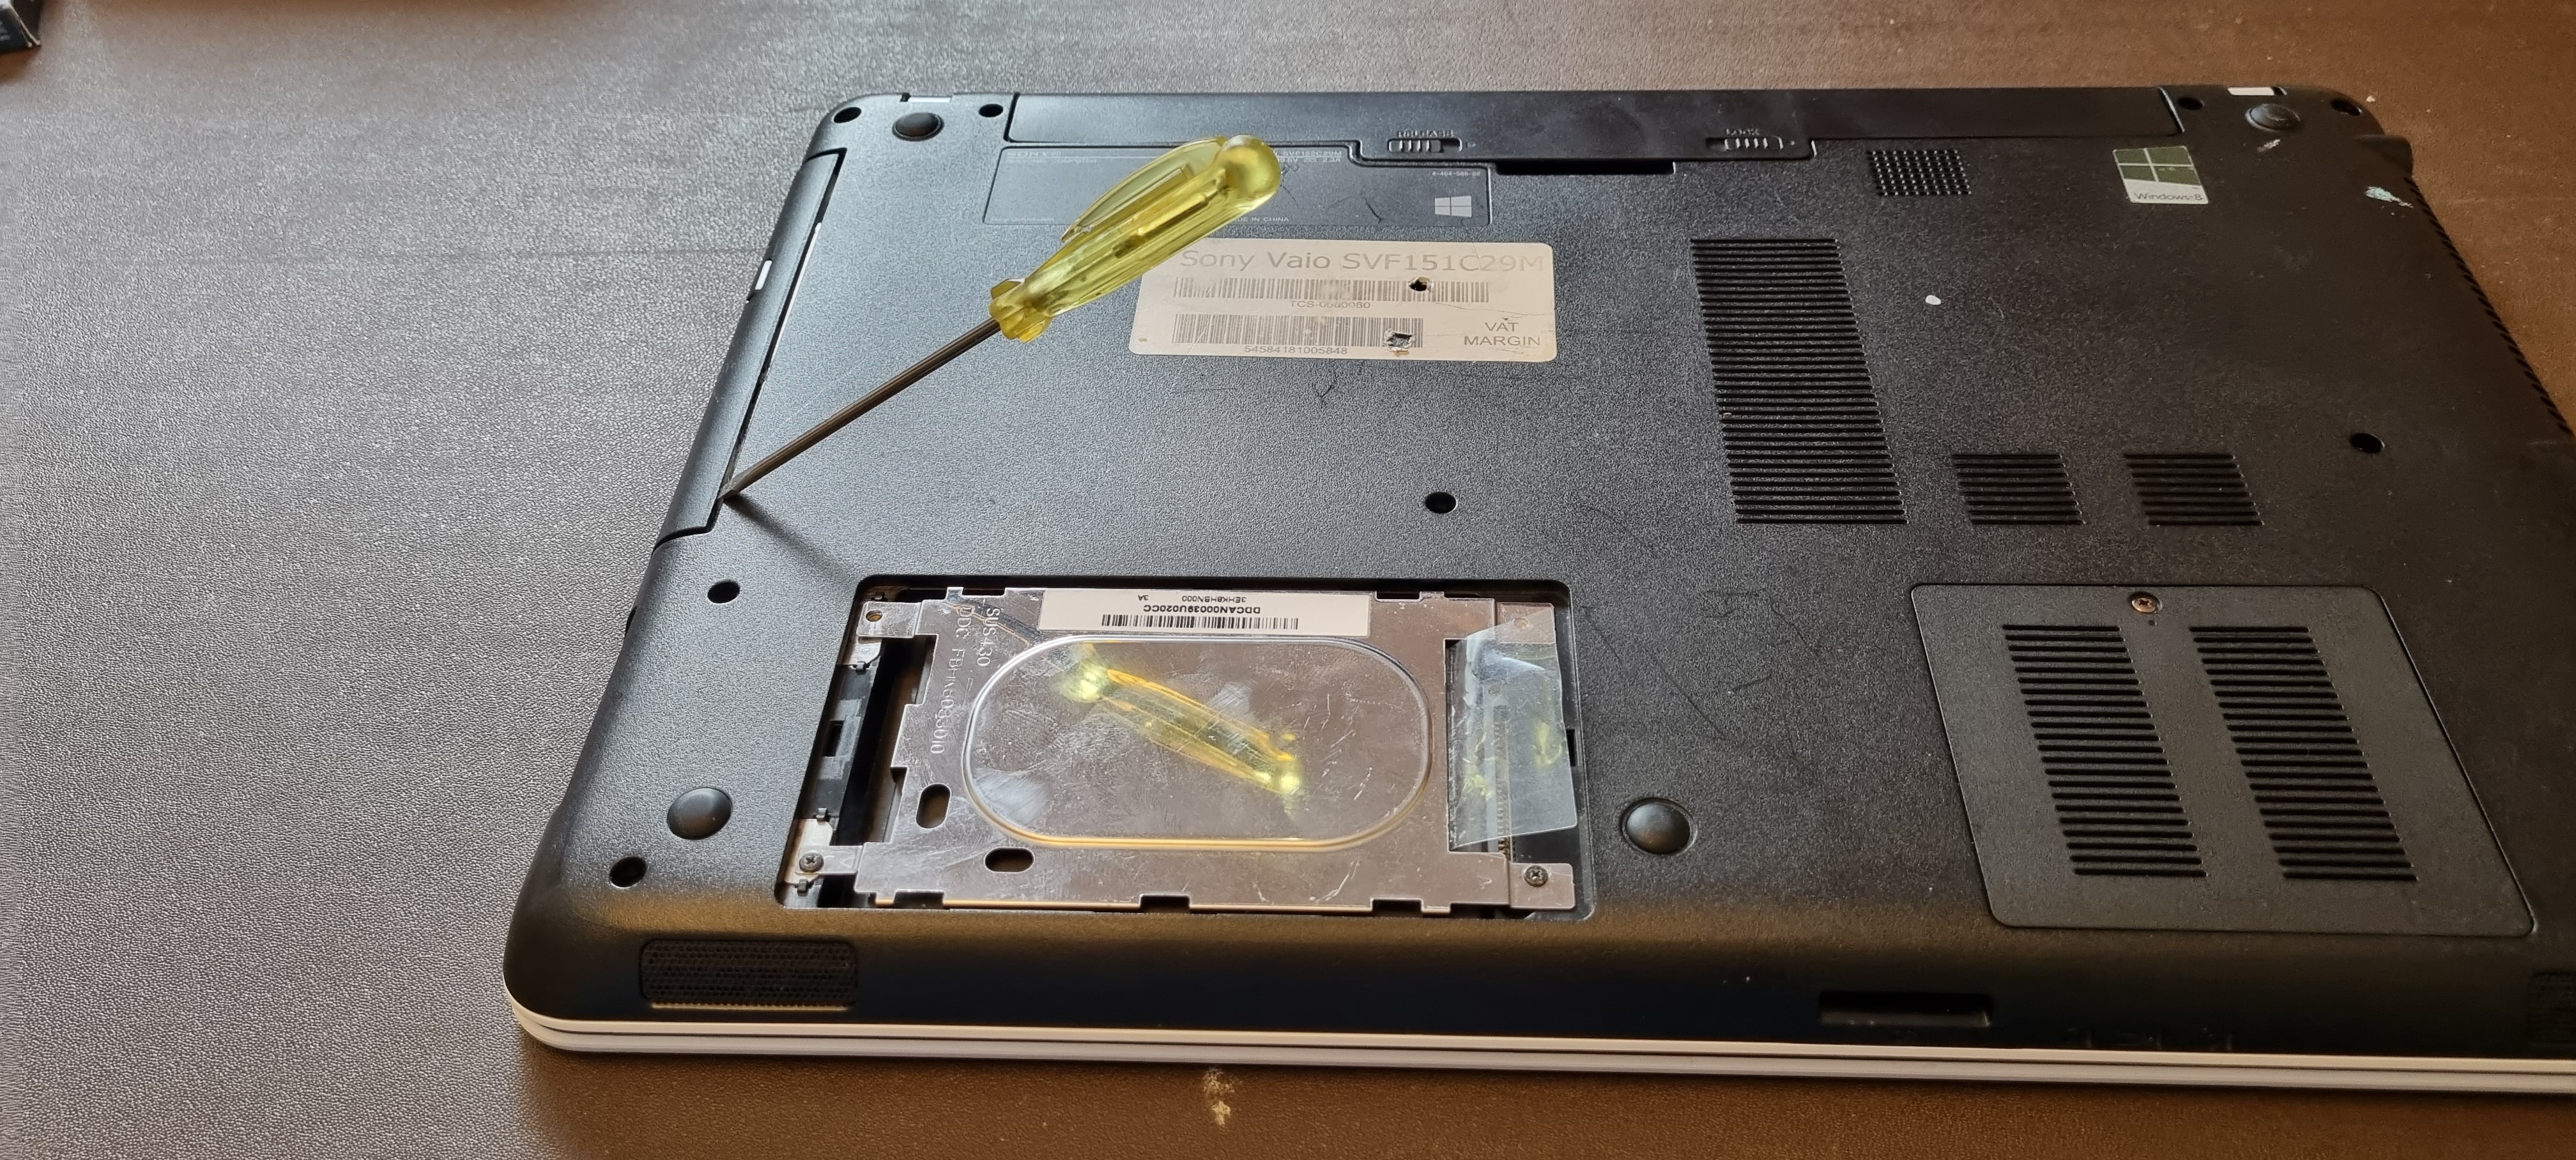
First turn the laptop
upside down with the non-hinge side towards you.
Then remove the
panel near to you which is secured with two screws.
The screws
stay in the panel, which is quite useful.
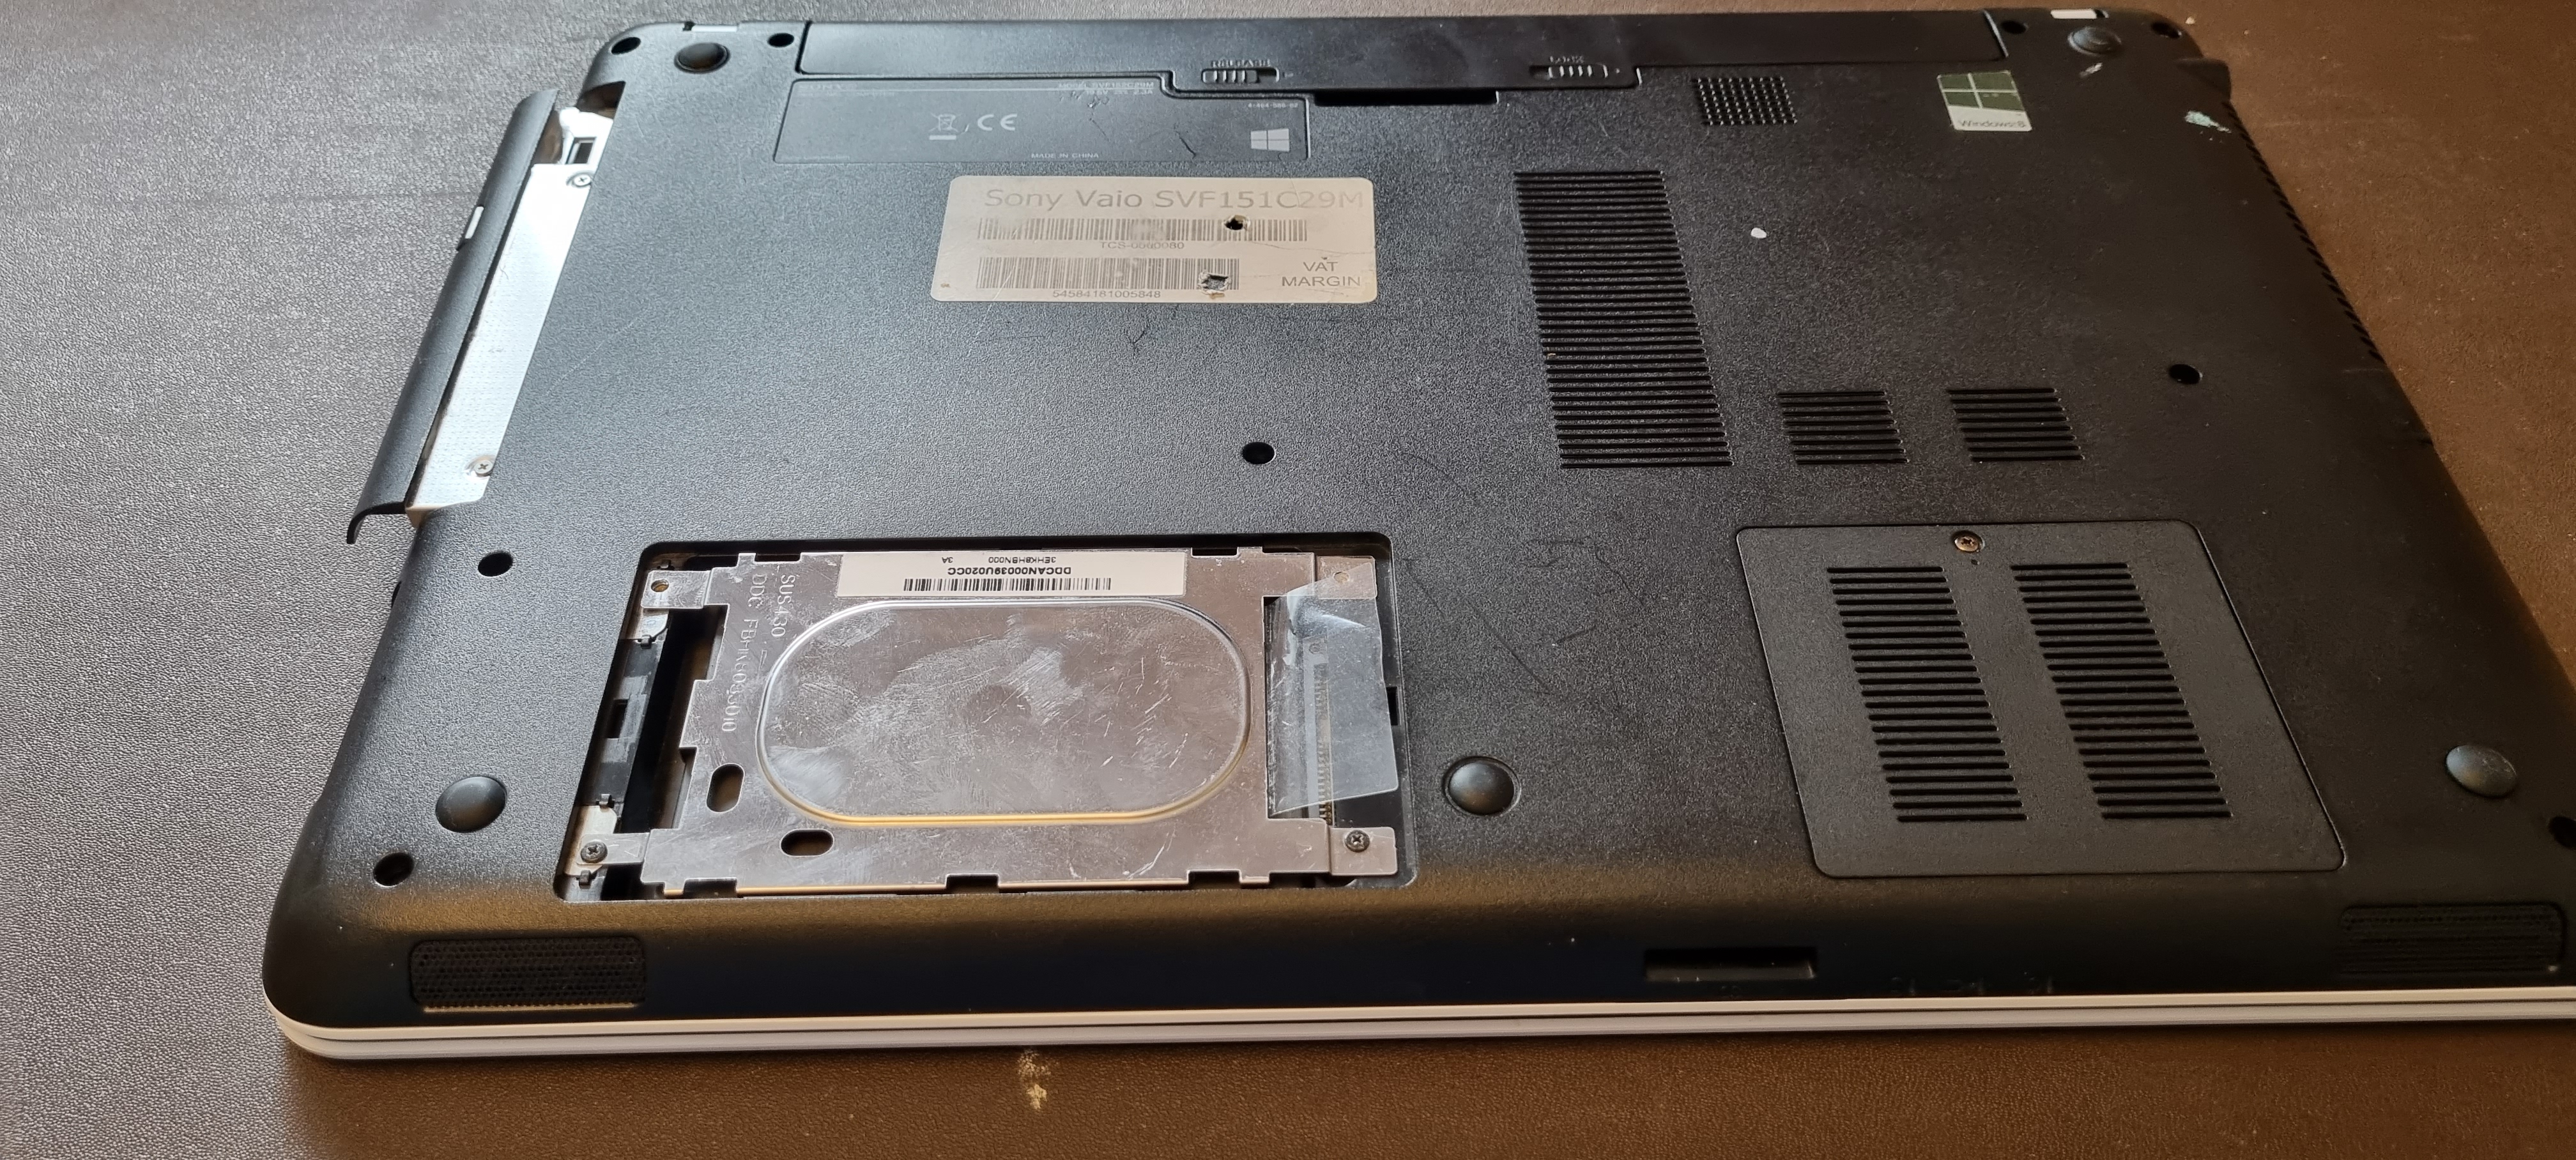
You will then see
a silver harddrive holder.
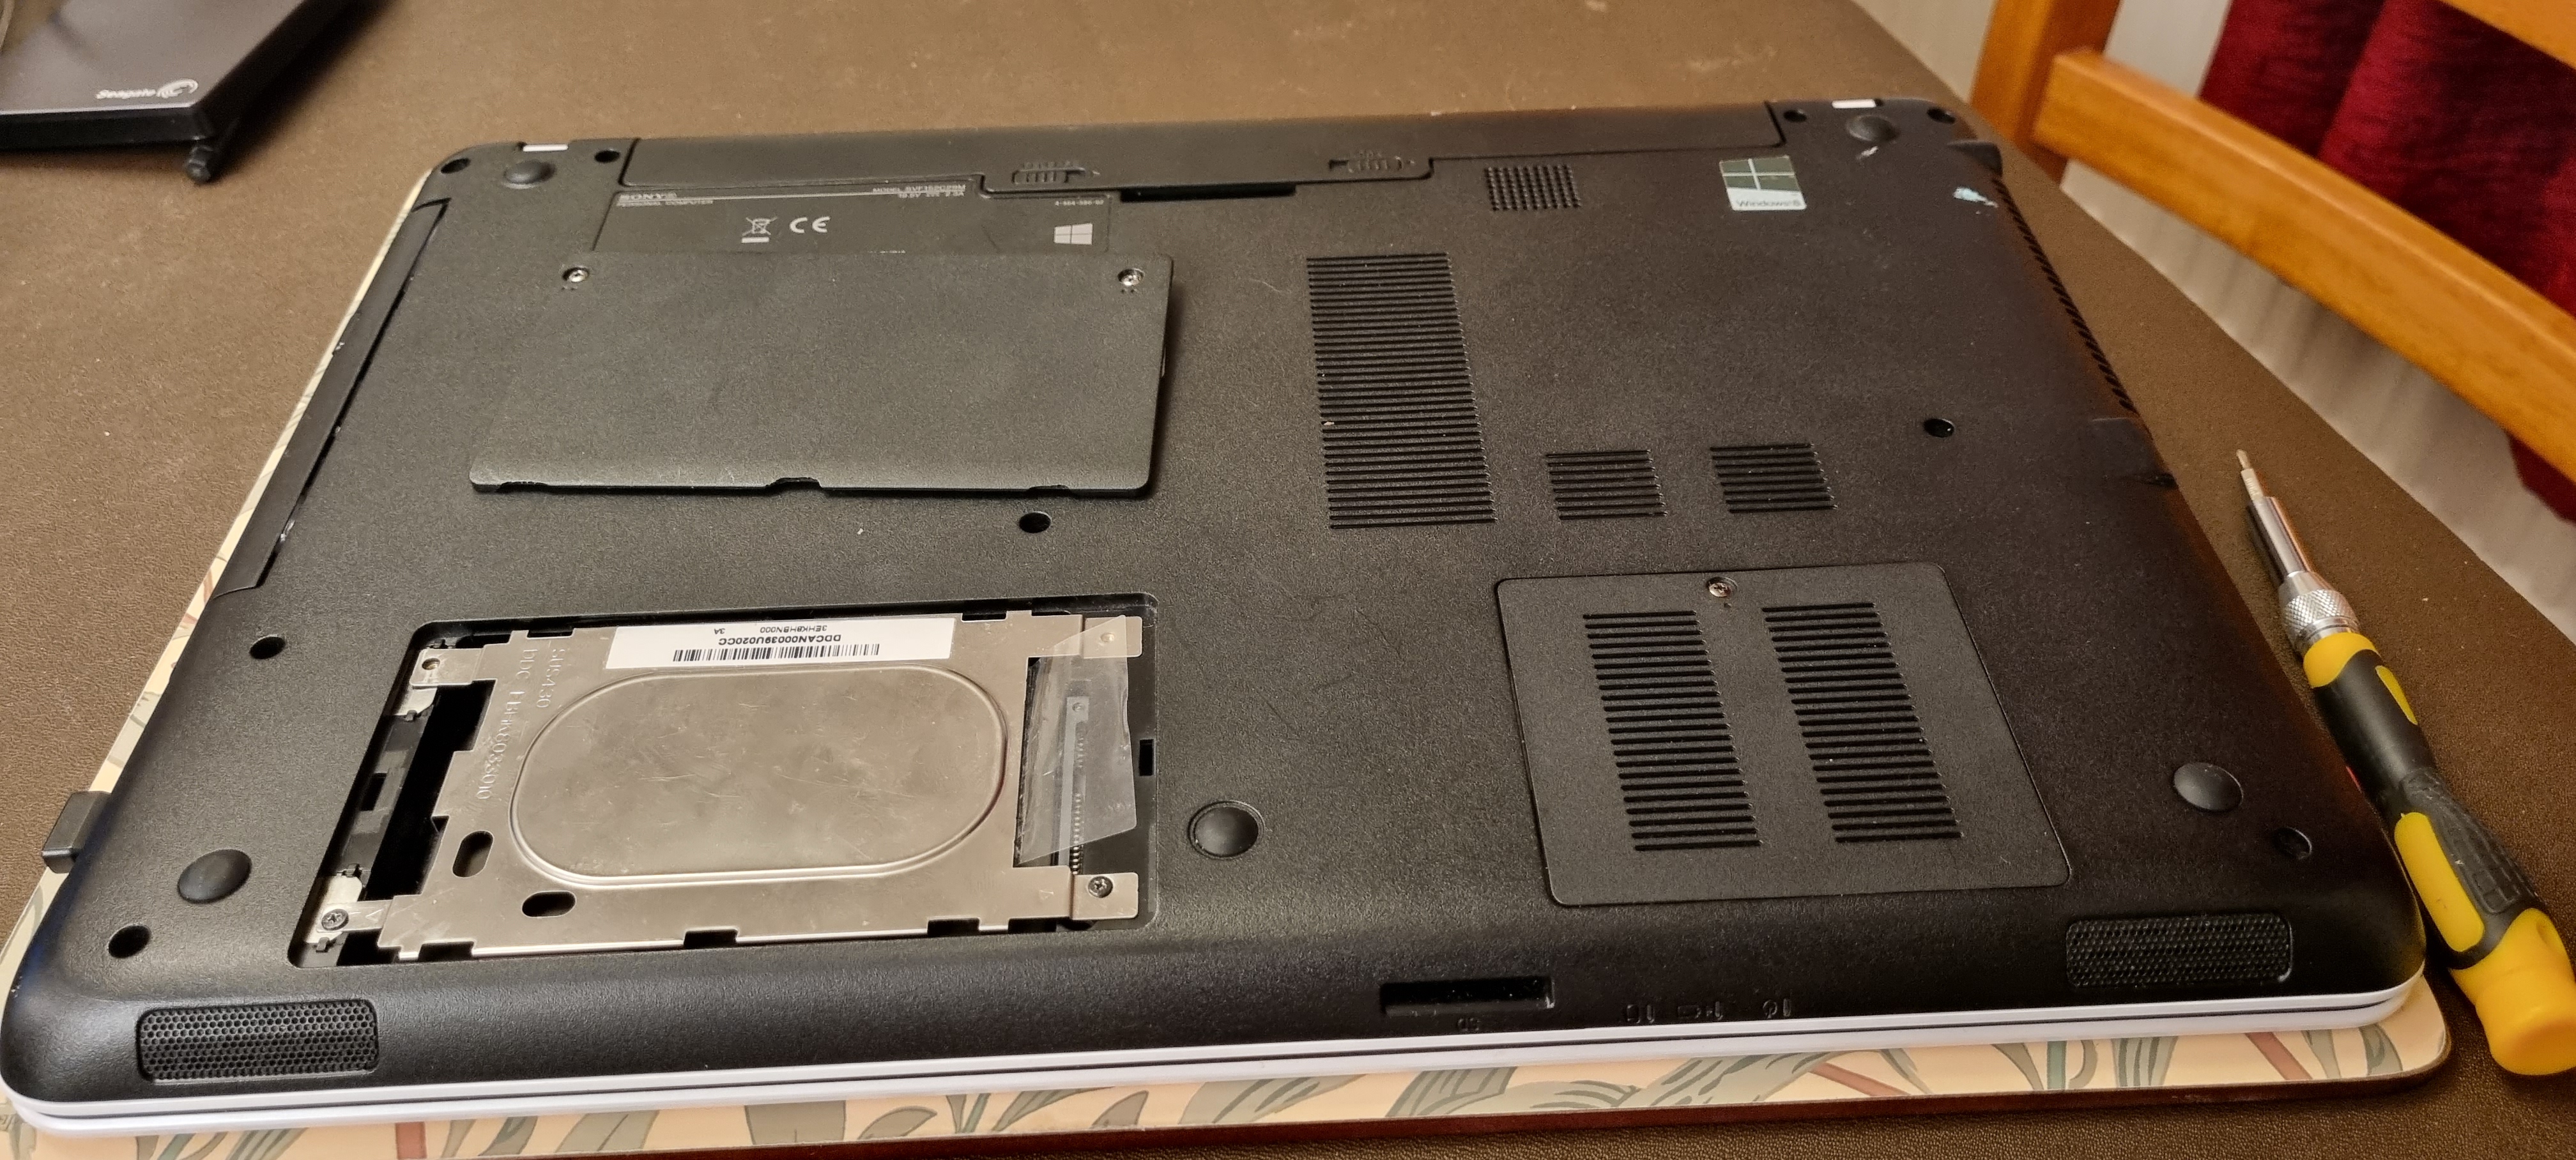
Remove the 2
screws near to you and then slide the drive to the left, using
the
clear plastic on the right hand end, and at the same time
pressing down on the
left hand end so the two “tongues” of
the harddrive holder go under the casing
The drive can now
be lifted out. I suggest you don’t take it out of the holder yet as
it will be helpful
to check which way it is fitted when you put
the new harddrive (SSD) in, ready to get rid of the computer.
Just
leave it on one side until later.
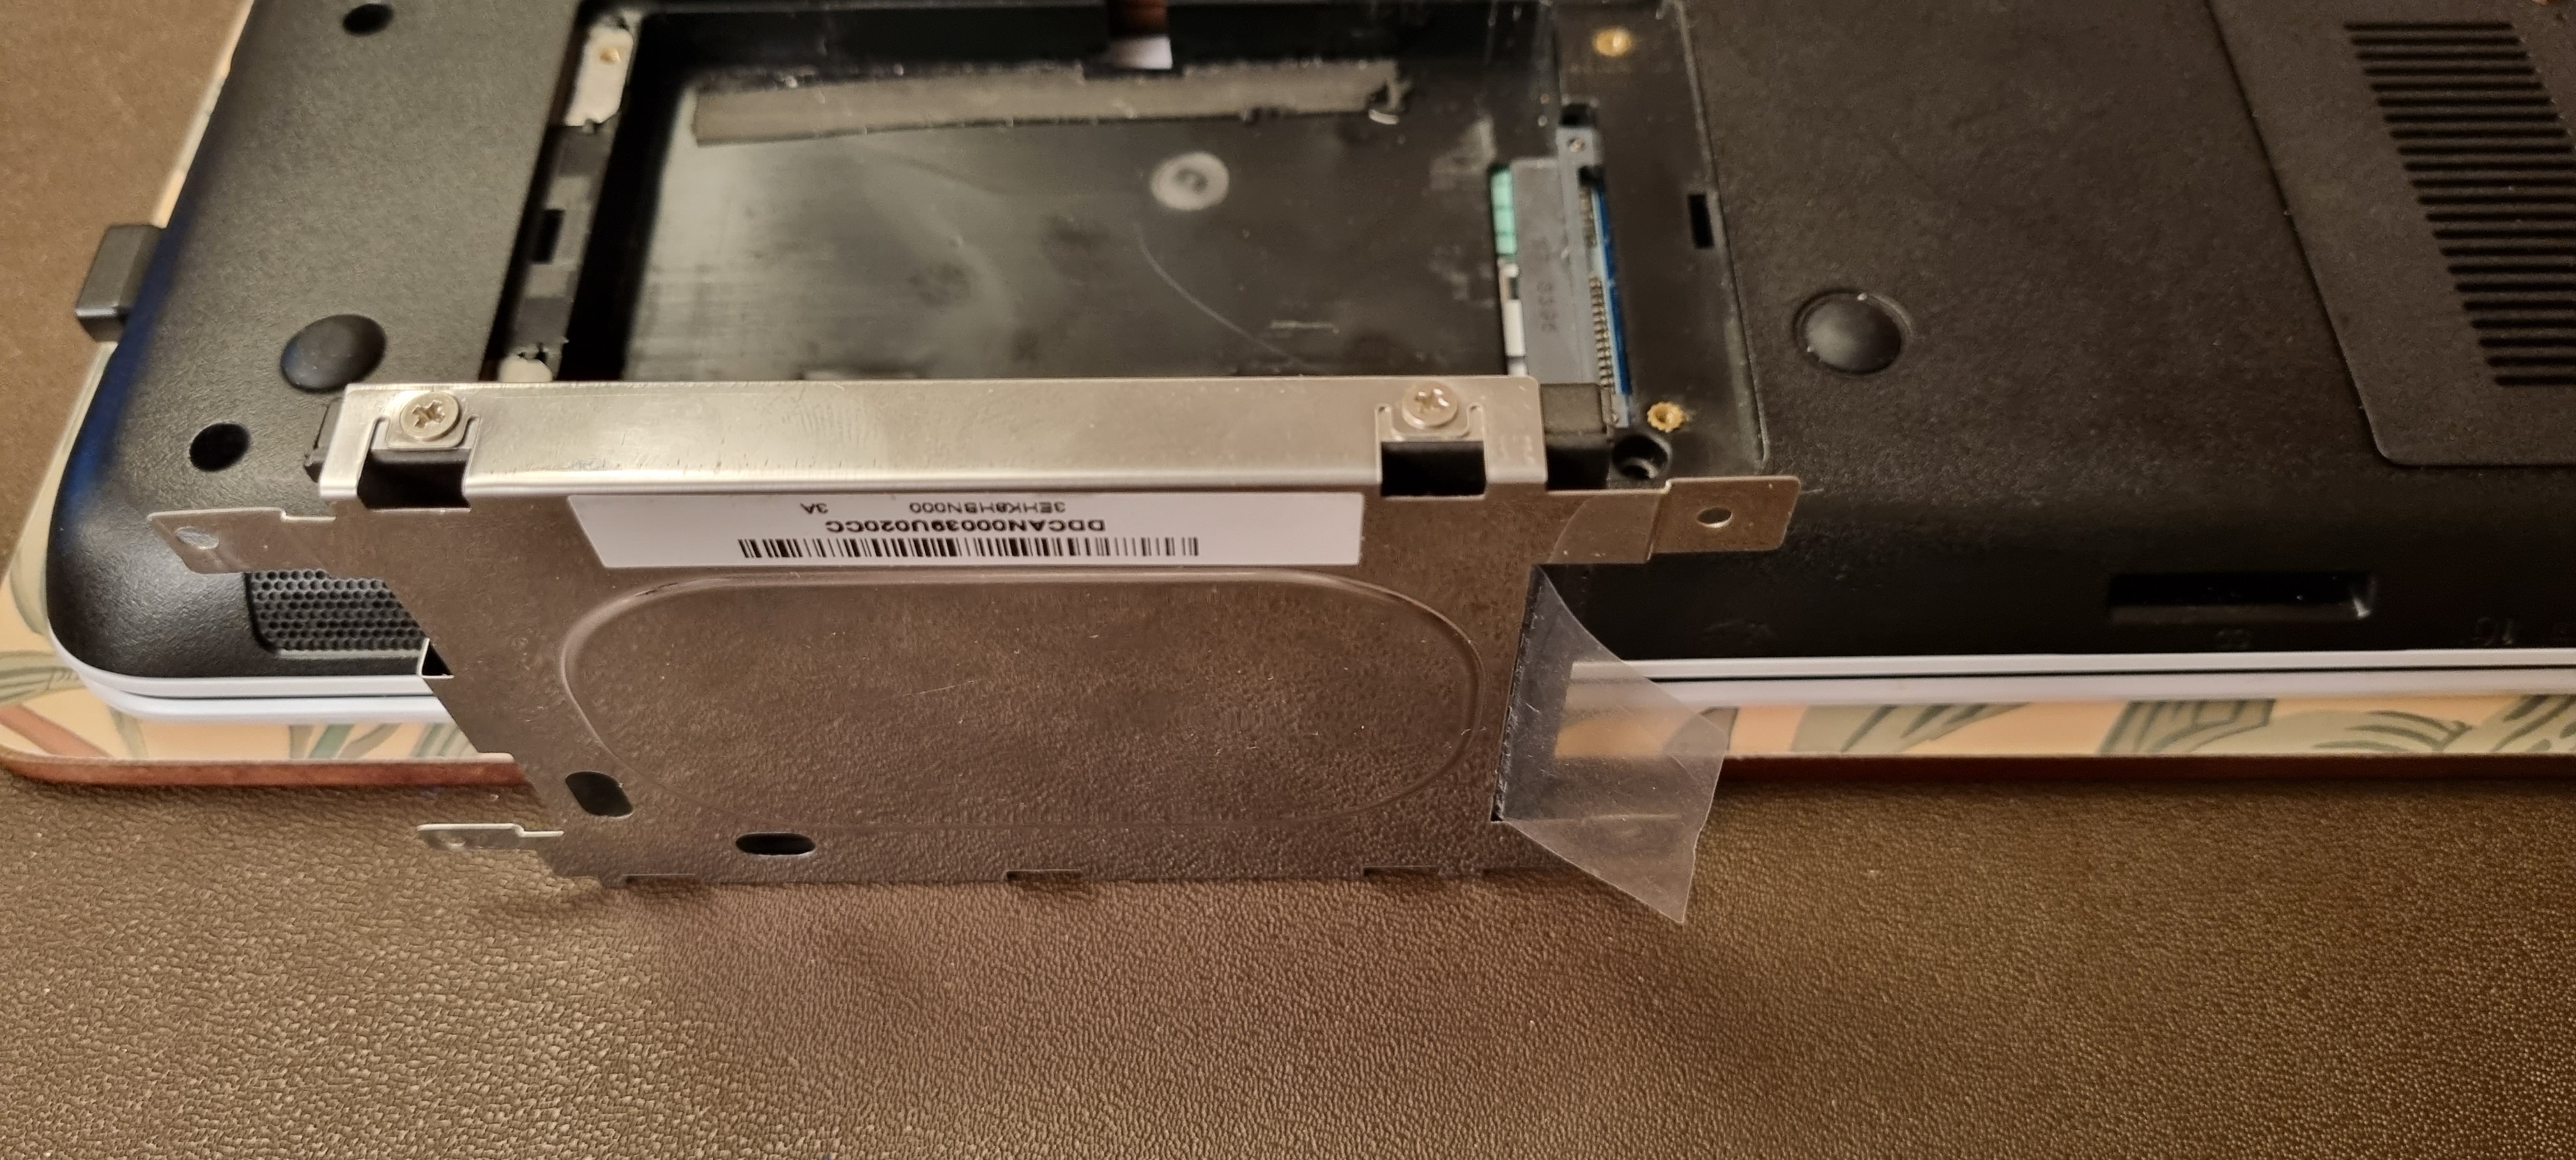
Now remove the screw near the number “5” on the paper label with the model number.
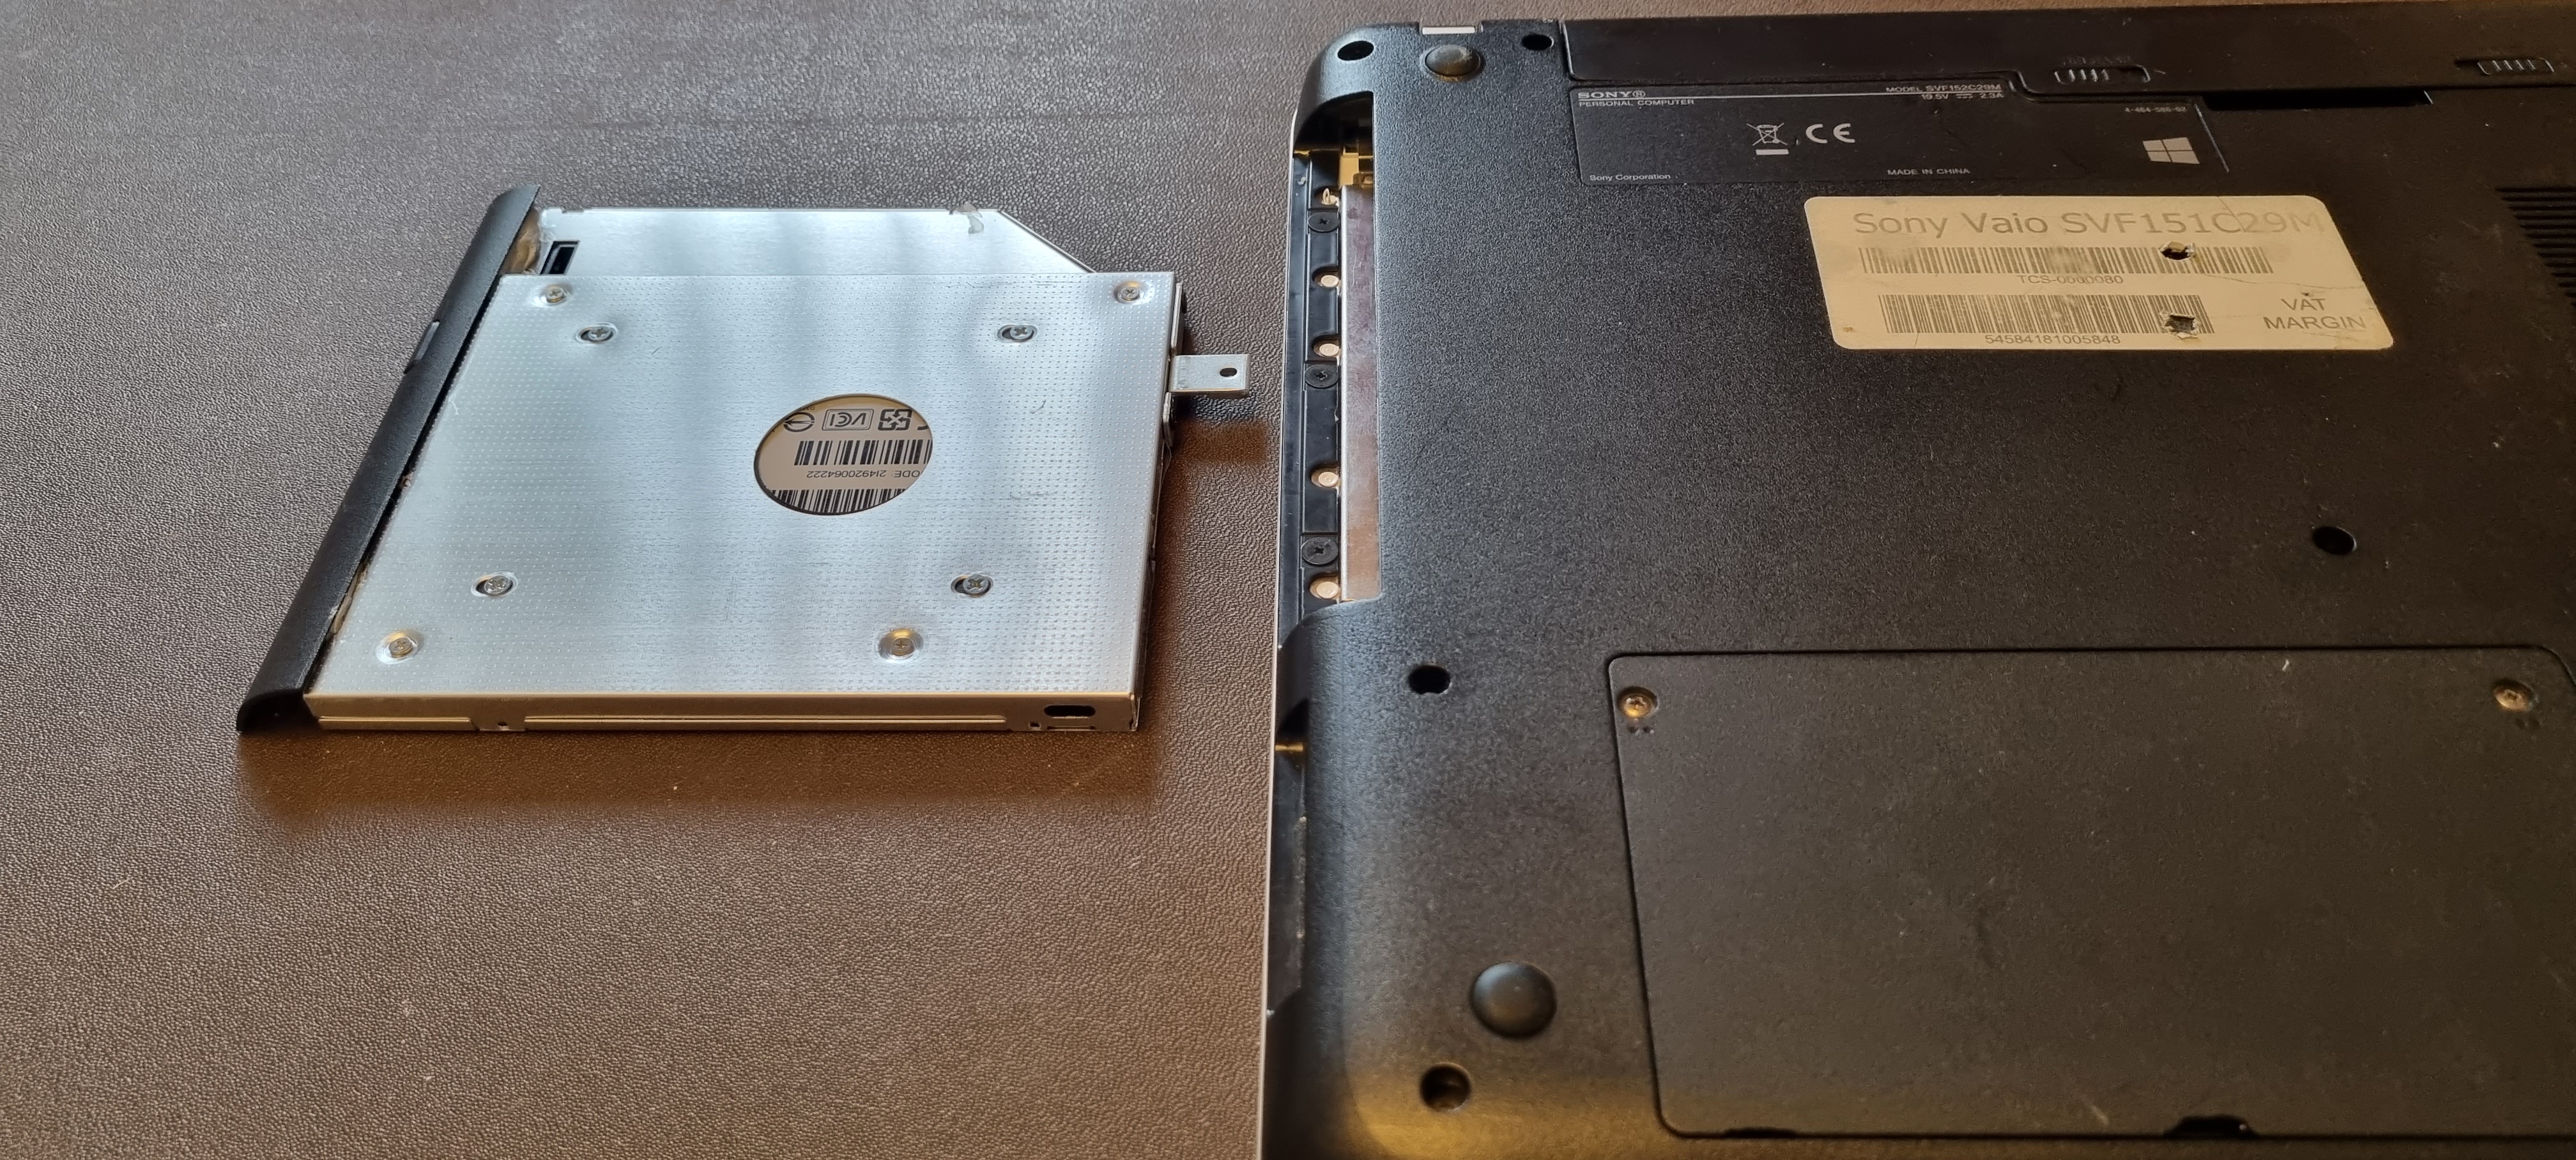
You can now pull
out the drive holder that is in the place where the DVD drive is
usually found.
This is best done by pulling on the end where the
screwdriver is in this next picture, as that
reduces the chance
of the plastic end piece coming off. It should come out very
easily.
(If the plastic end piece does come off, you will need
some point-nose pliers to pull the tray out).
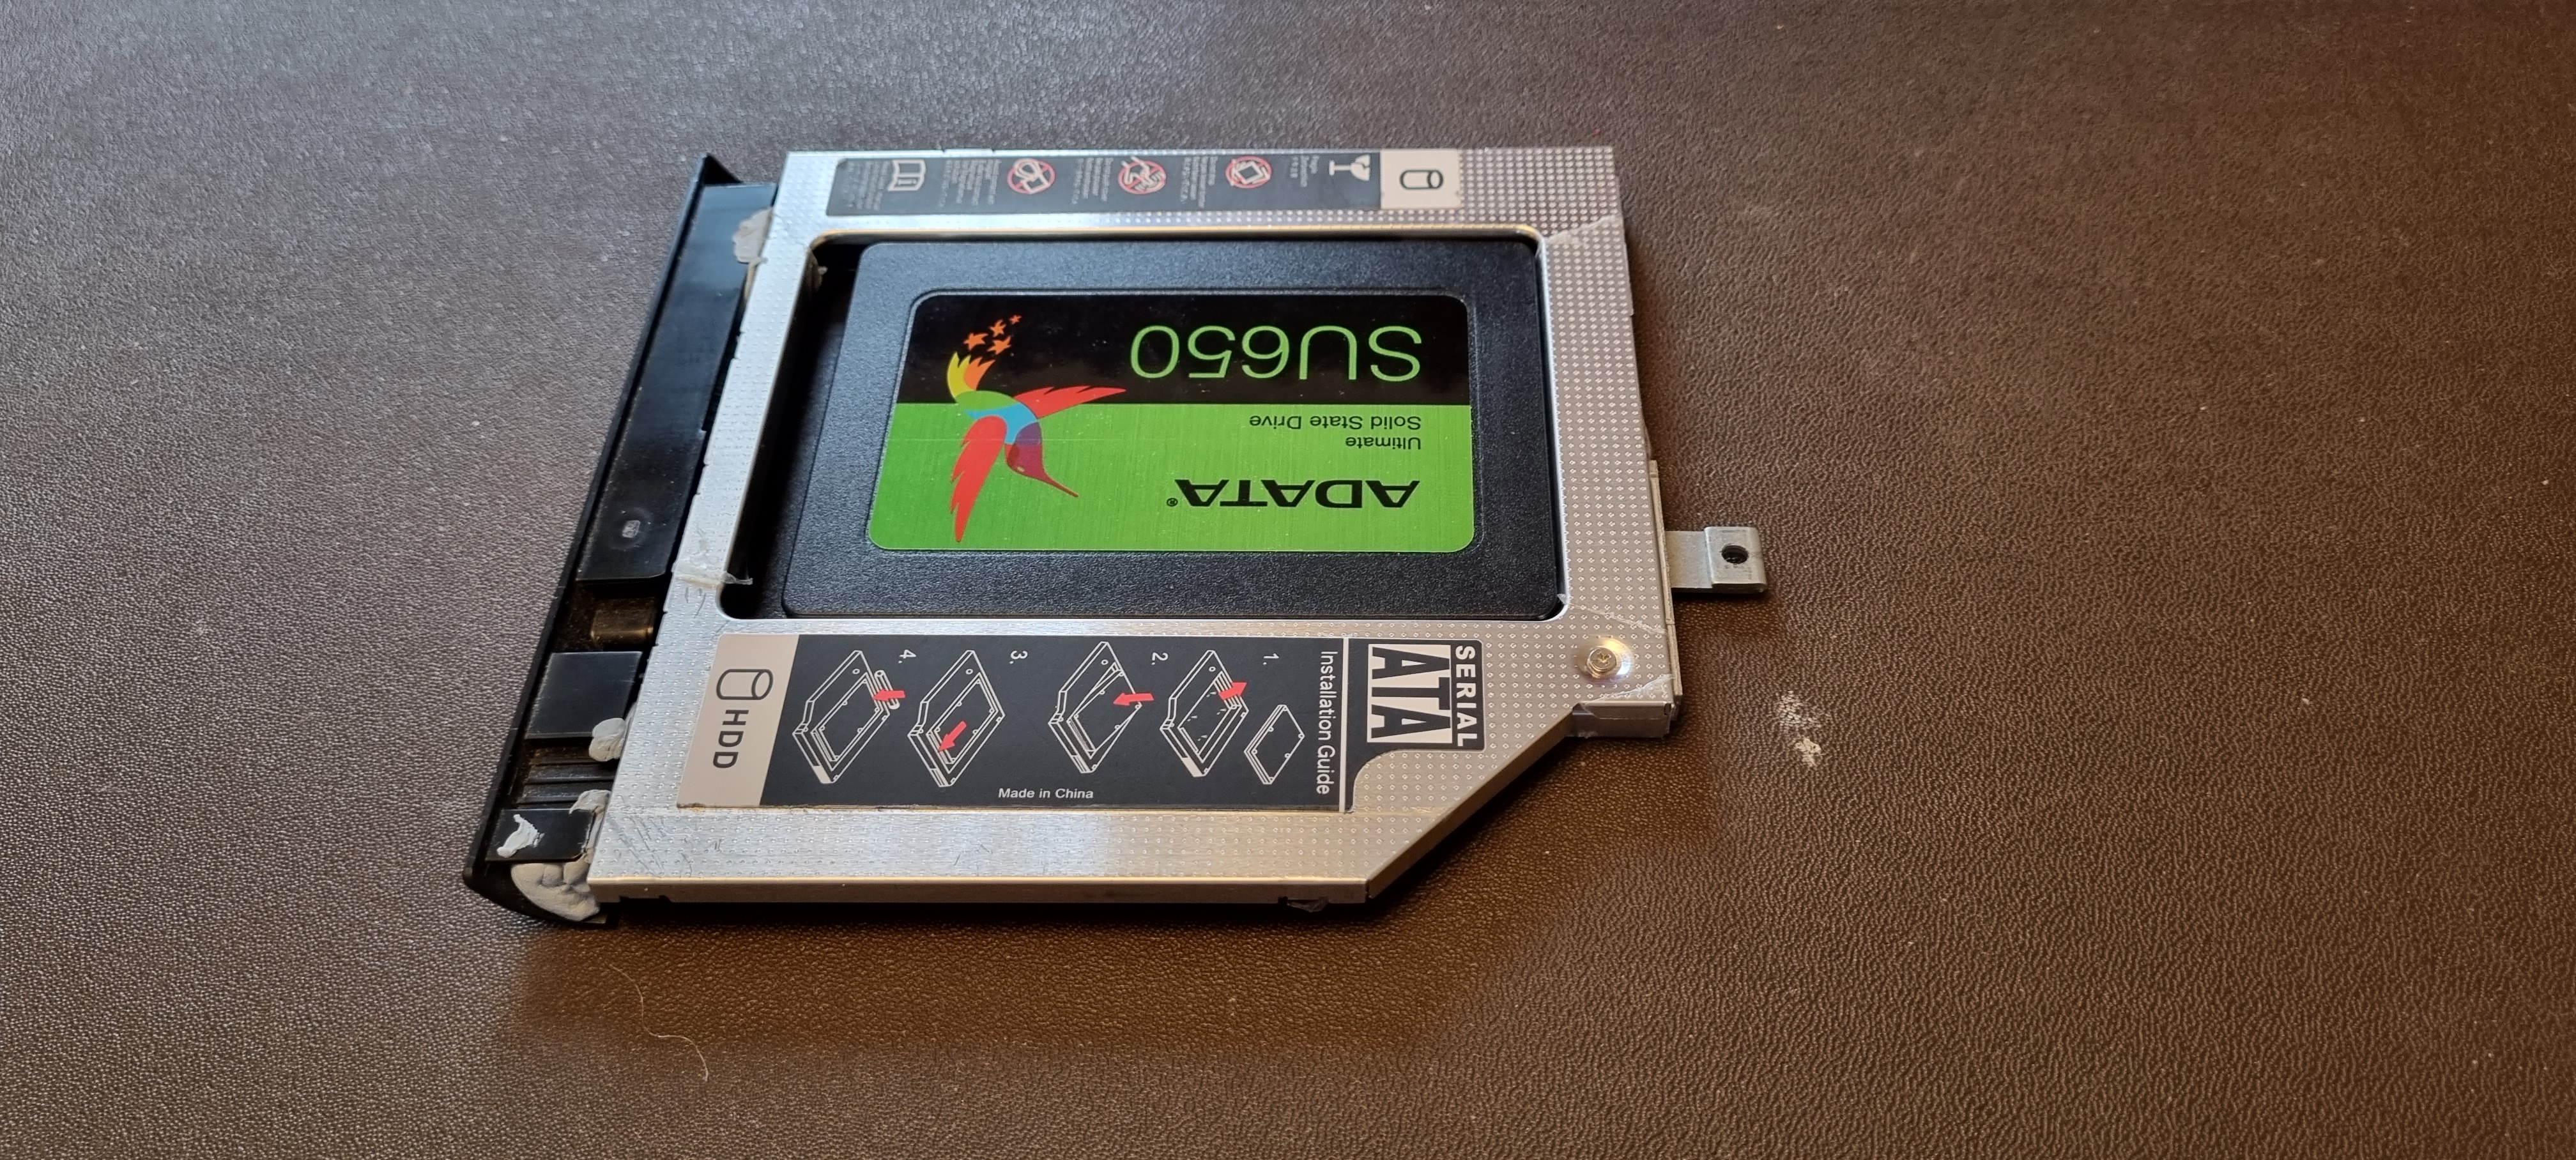
Once the drive
holder is out, you can remove the 4 screws in the slotted holes which
hold the drive in place.
Then turn the
holder over and remove the drive. You will need to slide it away from
the end
where the connector is, so if you have it the way round
that it is shown in the picture below,
slide it from right to
left.
This is a bit stiff, so you will probably find it easier
to hold the drive from above and below,
using the circular hole
shown in the picture above to help with this.
This next picture
below shows the position after the drive has been pulled clear of the
connectors.
You can now refit
the DVD drive and the new harddrive (SSD) with a clean installation
of Windows 10 on it.
These are kept in a box which is on
the top shelf in the office to the right of the serving
hatch
labelled - "New harddrives (SSDs) and DVD drives for fitting in
all 3 laptops."
To refit the DVD
drive, you need to transfer the small fitting on the end of the
drive
holder onto the DVD drive. Take care to check which way round it goes
and
which fitting holes to use. (See below).
(Be
gentle when tightening these screws as the
threads strip very
easily in the soft metal used in the holder and DVD drive.)
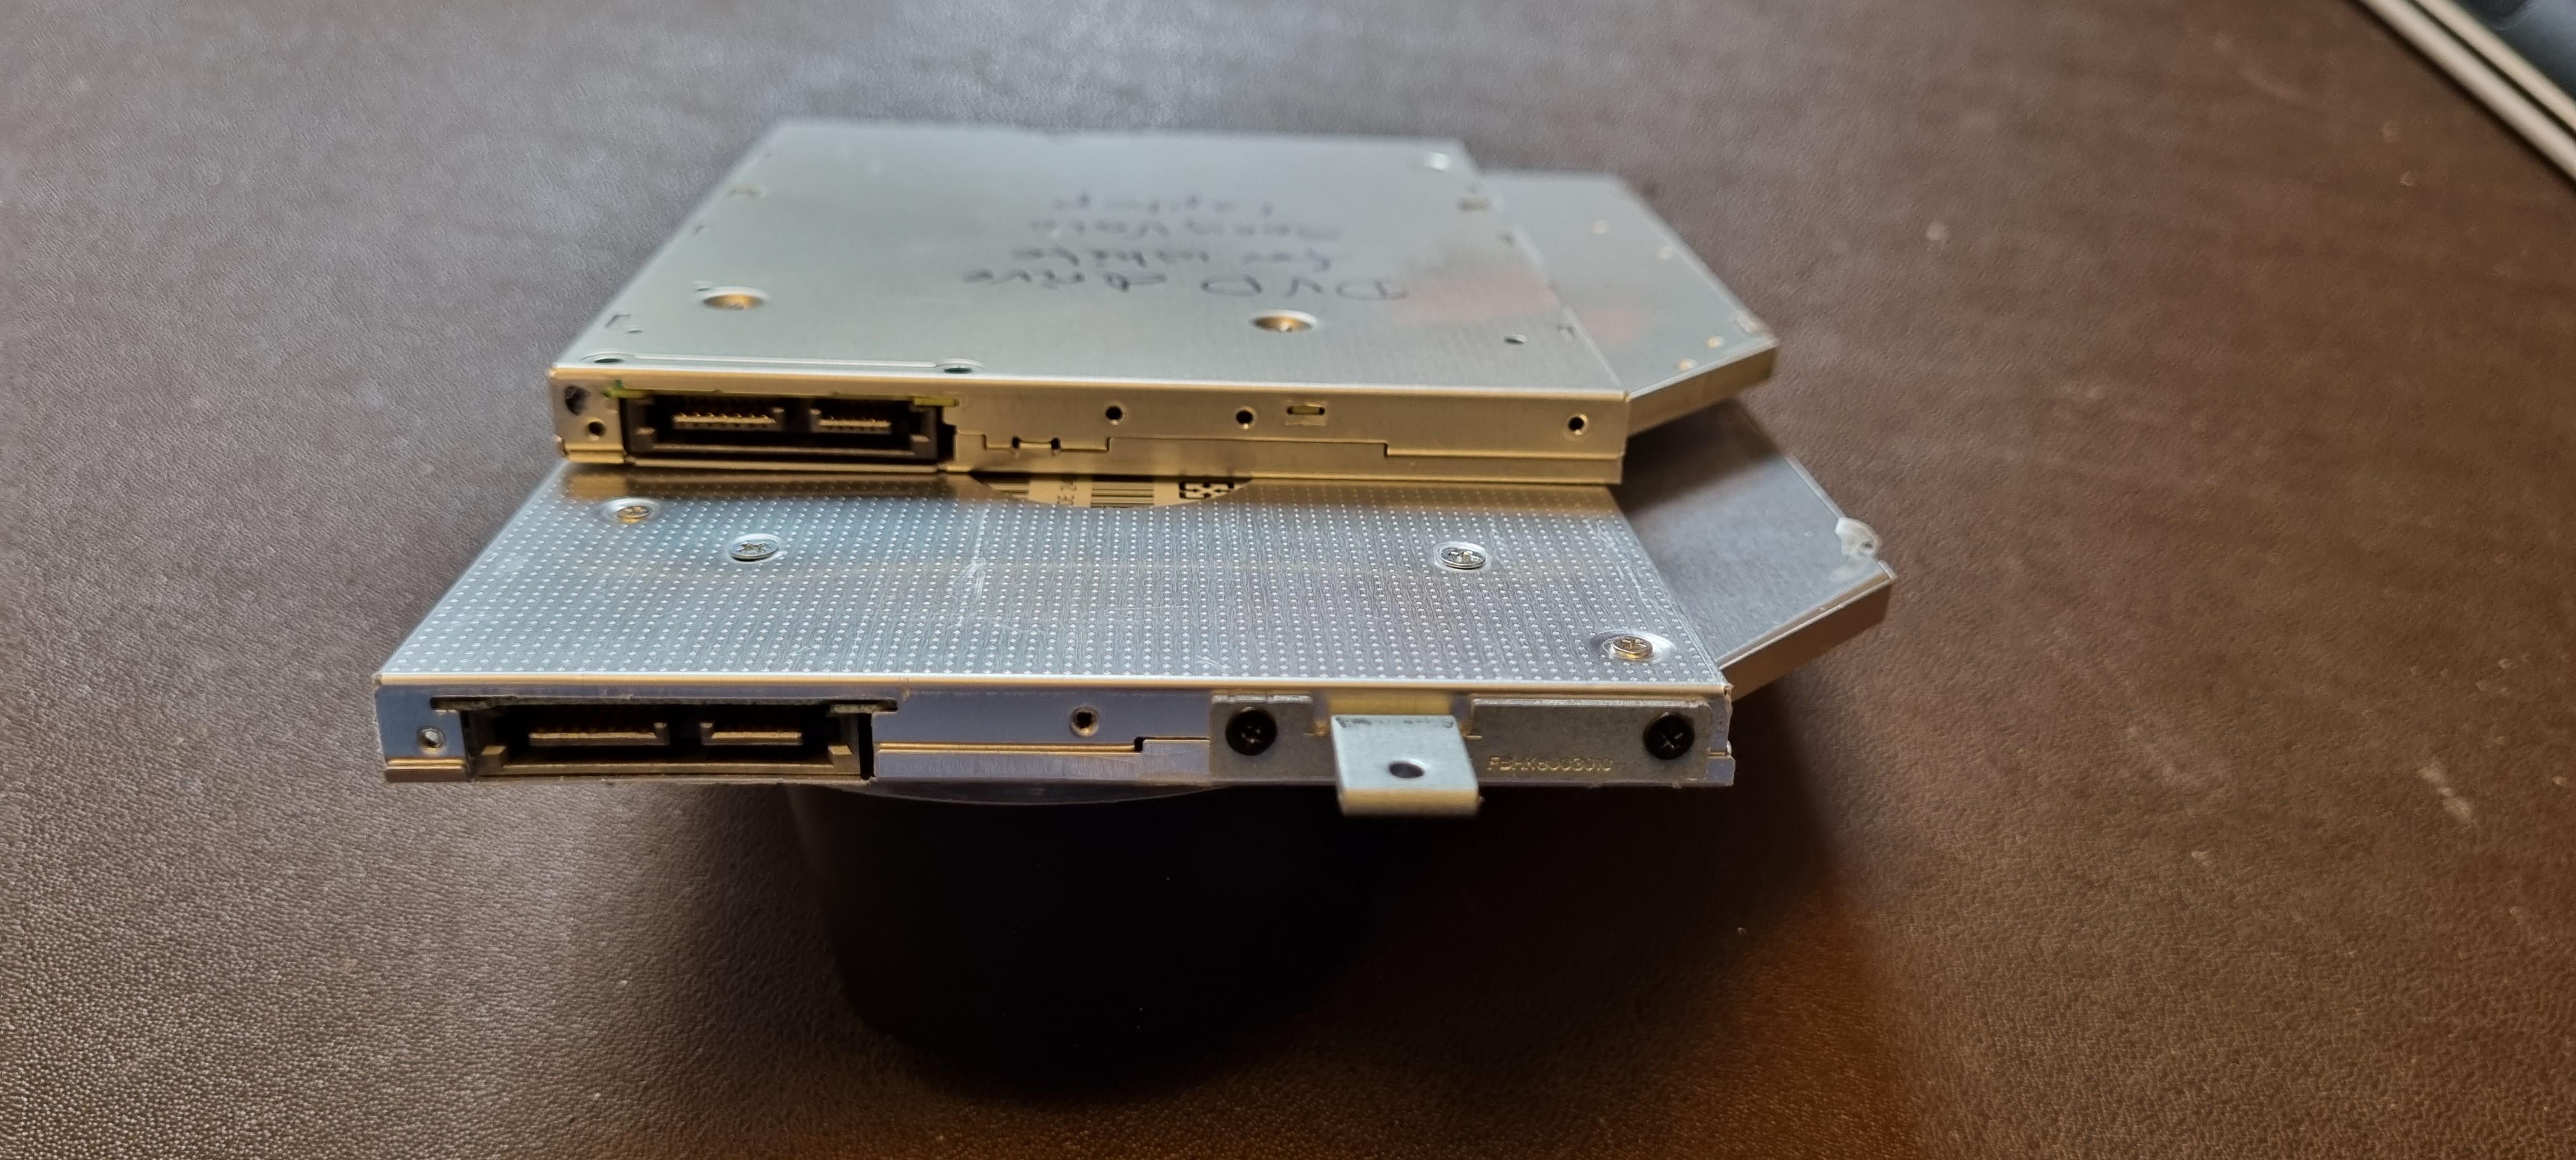
Then take off the
black plastic end piece (shown below, still on the
harddrive
holder), and fit it to
the DVD drive (once you’ve cleaned off the Blue Tack).

You might find it
a little tricky to slide the DVD drive back into the computer, but it
usually
goes ok after some fiddling. It’s not always easy to
line up the connector, but I’ve always managed so far.
Once
you’ve replaced the drive in the computer, don’t forget to refit
the screw to hold it in place.
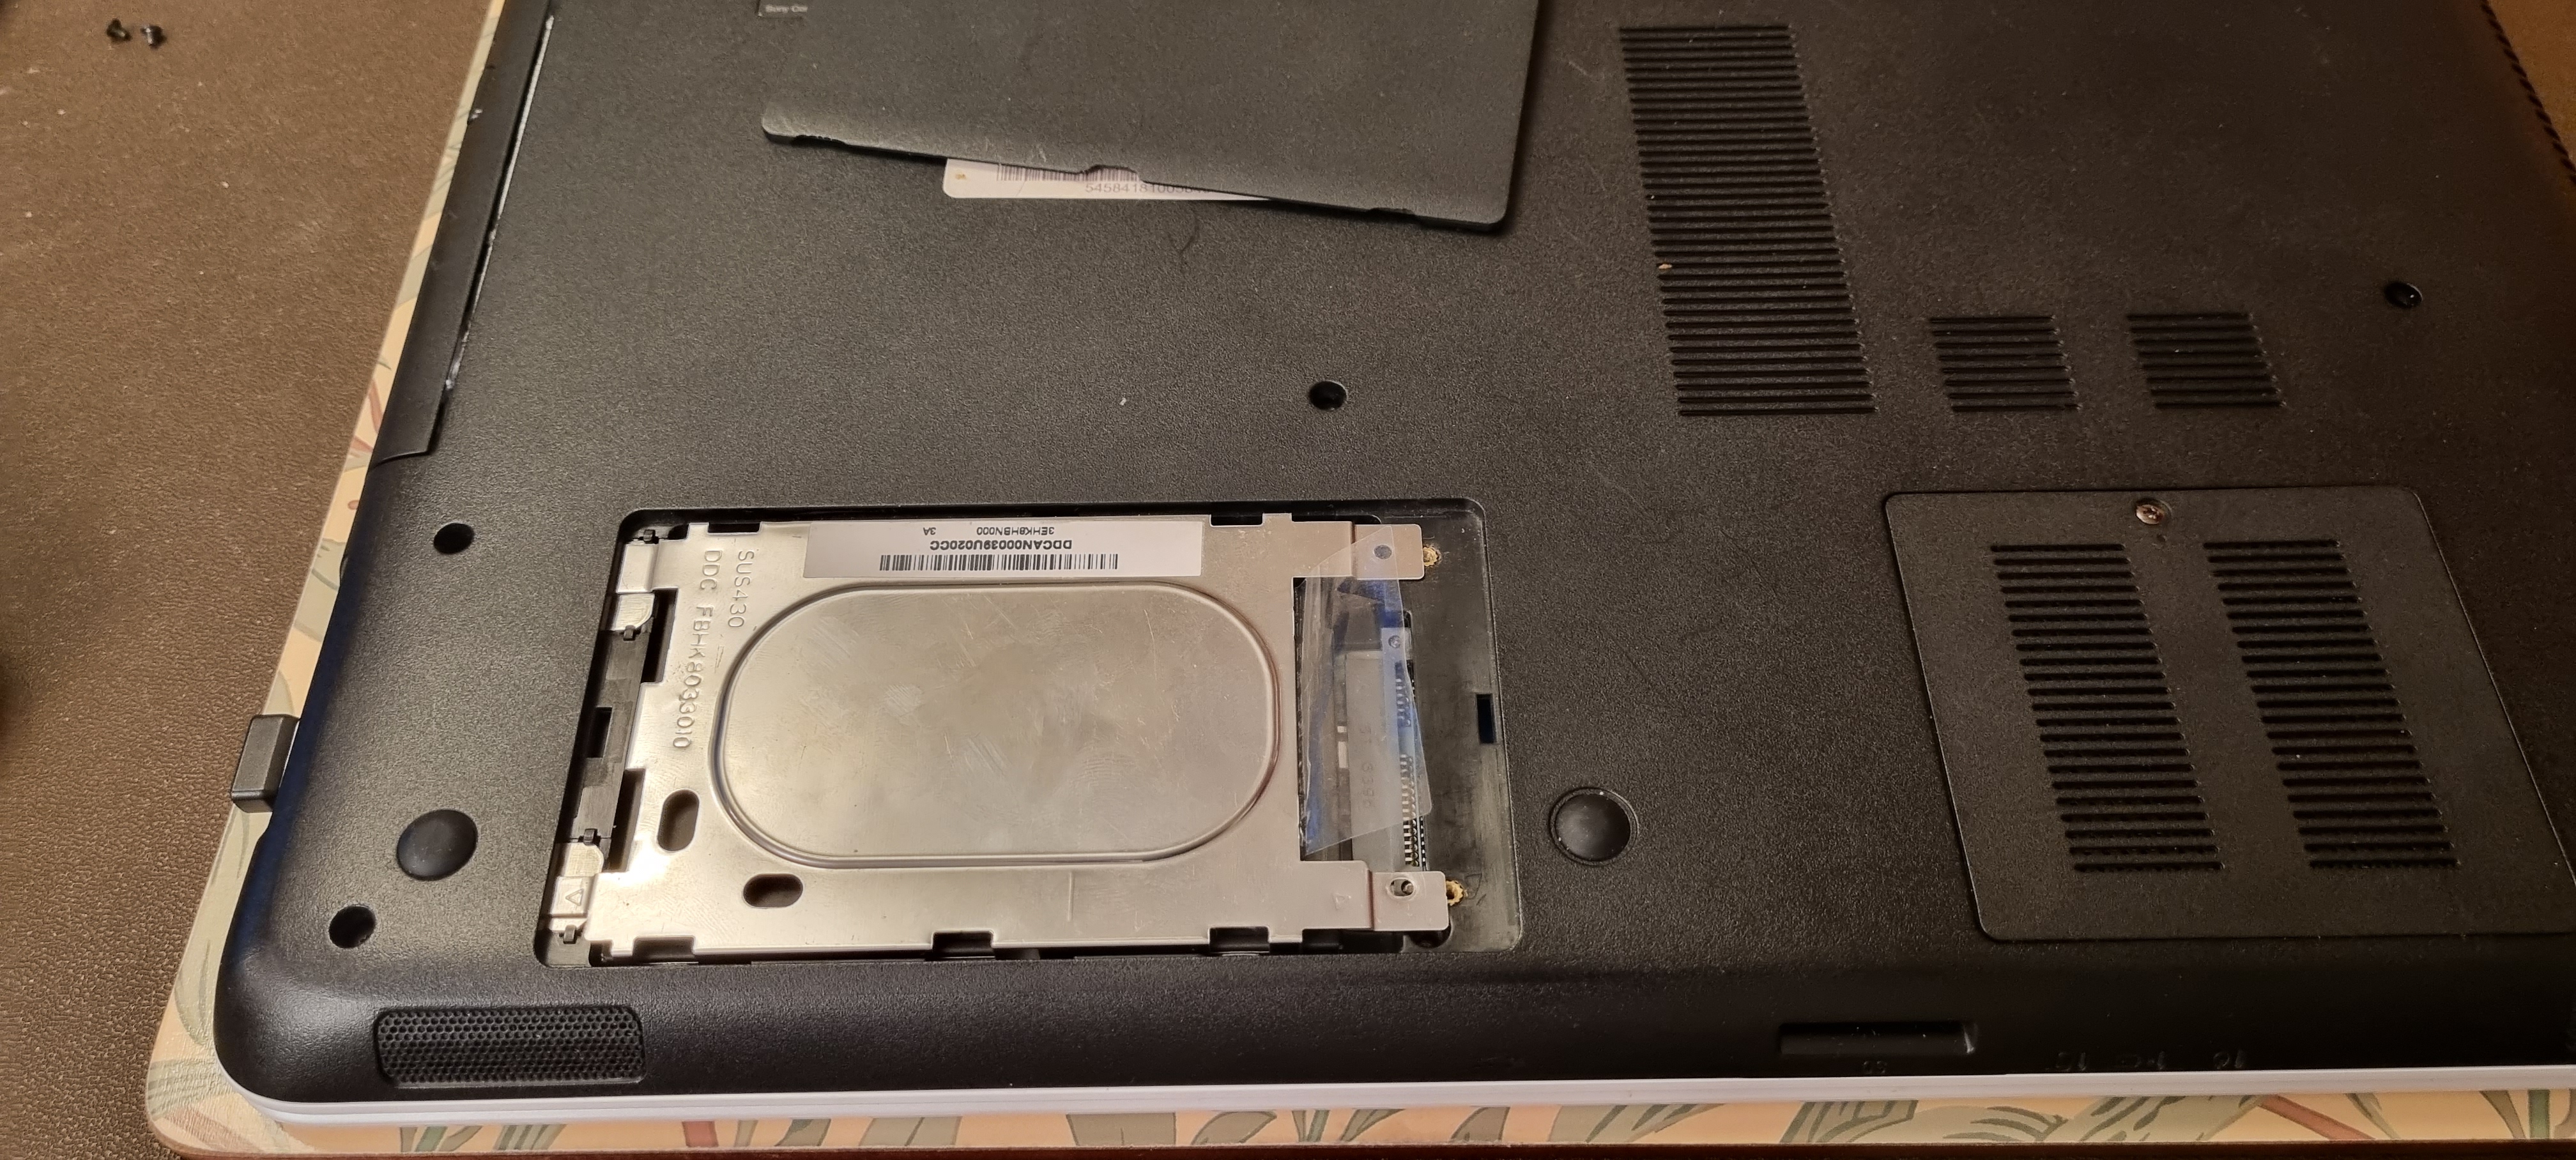
You now need to remove the
4 screws holding the harddrive in the holder you removed at the
start.
Two of those screws can be seen in the picture below.
Make sure you know which way round it is fitted,
ready for when
you fit the new drive.
Once you’ve
taken those screw out, you can put that harddrive (SSD) on one side
to be disposed
of along with the one from the drive holder.
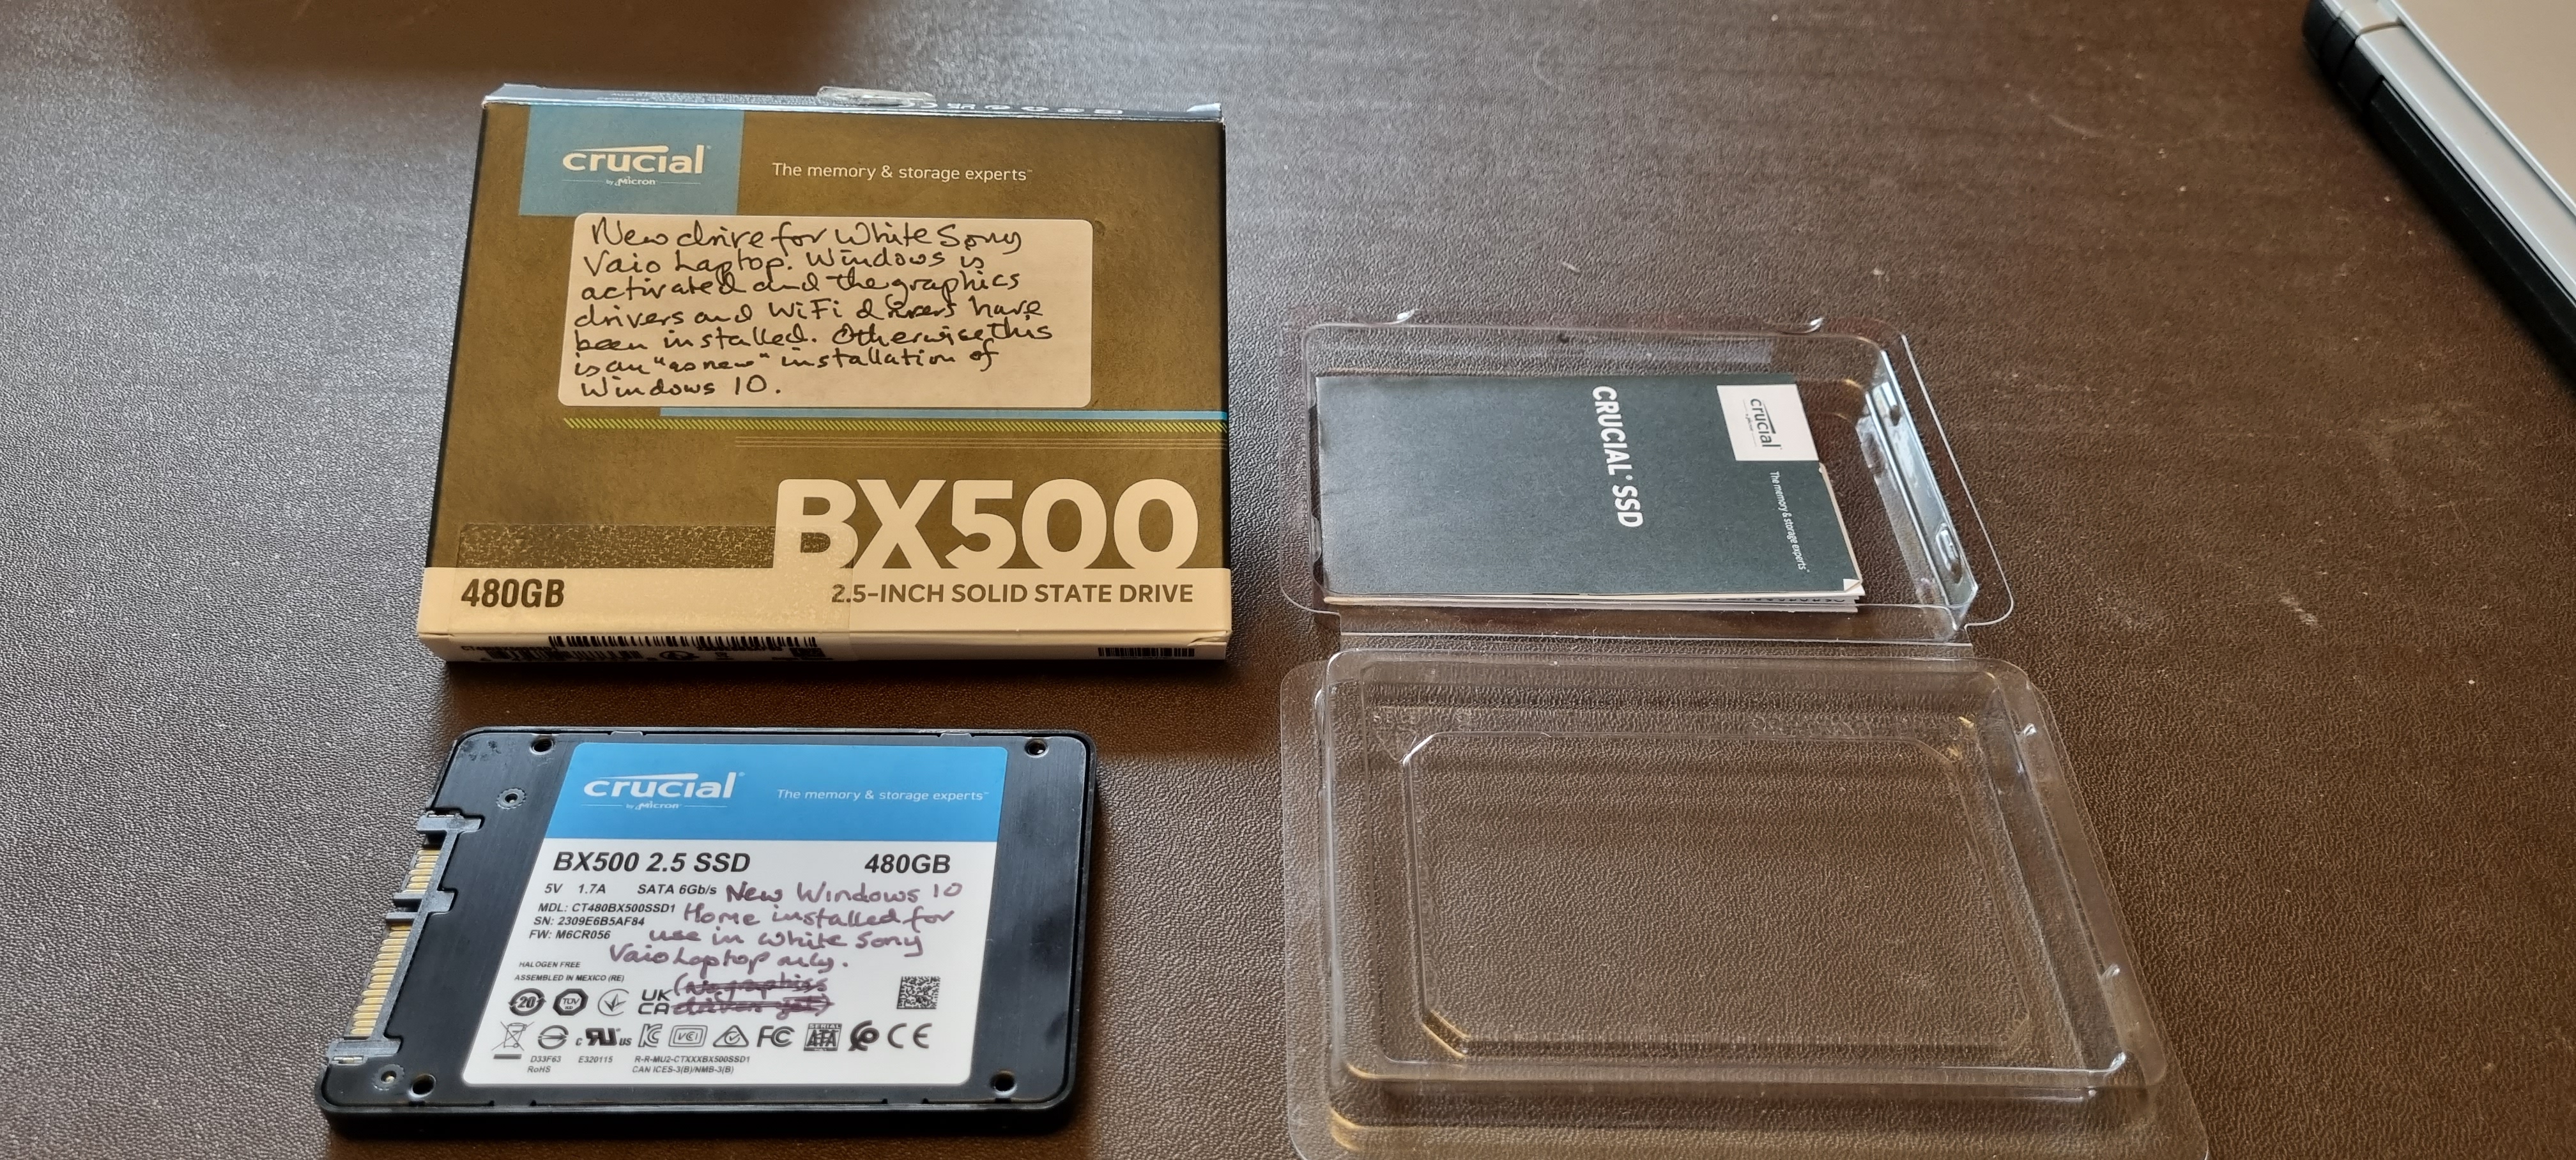
Now
you need to fit the new harddrive shown below, which you will find in
the box
that had the DVD drive in it.
It’s a bit of a
fiddle to get the screws in as the fitting was designed for a
harddrive not an SSD.
The harddrives are thicker and so easier
to line up the holes. Make sure you fit it the correct way
round
in the holder.
Once the screws are all in, just refit the
drive in the computer, by holding it with the clear plastic
in
your right hand, and sliding the tongues of the holder under the
casing to the left.
The drive can then be pulled to the right
with the plastic, and the two screws nearest to you fitted.
The
other two screws are in the black plastic cover that you can now
refit as well.
Turn the computer over and press the button
top right of the keyboard to switch it on. As long as
the
computer was booting into Windows before you did this, it will boot
into the clean
installation of Windows 10 now.
If it was
booting into Linux before, then you need to read the instructions on
the piece of paper
in the smaller laptop bag to make a change to
a BIOS setting. It should then boot into the clean
installation
of Windows 10.